GSoC Week 10, 11 and 12: Lost
This post breaks a long silence. Most of the work in the last three weeks has been discreet and low-key. Since all the elements were made ready, it was time to put it all together and package everything under one roof. A lot of work went into putting together the lore and making a good amount of riddles for a kind of treasure hunt in-game. Most of the reason for the confidentiality was to keep the spoilers at bay. I wanted folks from the community to try out the game without having any idea of what lies ahead.
Before you proceed any further, I’d like to make it bold and clear that there lie SPOILERS AHEAD. I would highly recommend you give a shot to the game, as instructed below, before you move any further.
Instructions to run Lost:
- Download this Omega.
- Extract the Omega.
- Move the save folder called “Lost” inside
omega796/savesto the save directory-- in Windows, C:/Users/name/Saved Games/Terasology/
- in Linux, /home/name/.local/share/terasology/saves/
Alternatively, you can run the game with the-homedirflag. - in Windows, run the game from cmd using a command like:
Terasology.x64.exe -homediror add the-homedirflag to the target field of the shortcut to the exe file. - in Linux, modify the run_linux.sh script so that it has a
-homedirflag at the end, like so:java -Xms128m -Xmx1536m -jar libs/Terasology.jar -homedir
- Launch the game using the script or the .exe file.
- Select Singleplayer -> Lost and load the saved game.
What have I been upto?
There’s a good amount of stuff that happened in the three weeks, from making tricky riddles interspersed with lore to making new blocks and items along with crafting a new world. I’ll try to narrate things in the order of occurence, although my hazy memory might make a few things non-linear.
Packaging the save game
After a bit of discussion, it was clear that it would not be possible to deal with the accurate spawning of the puzzles and other structures I want in game at world generation time, at least within the time and scope of my GSoC project. An alternative idea that was proposed was to let the world gen take care of the terrain, flora and fauna, while the other tricky elements be added (or rather placed) in-game manually. After everything gets placed, the player is moved back to the spawn location with all things like Health, Hunger and Thirst reset. This results in a base save game, that acts as a gameplay template and can be loaded instead of creating a new game. This would also serve as a final product of my GSoC project, something that is easily playable and showcases almost everything I’ve worked on.
Lore and Plot
After spending a good amount of time on thinking about the story and the character progress, I was able to come up with something. Here’s what the overall plot looks like-
The player ends up on a desolate planet devoid of other intelligent beings. He opens up his journal to find that this was meant to be just another exploration survey of one of the potential life-supporting planets in the neighbouring galaxy. However, the wormhole that he created to get here has malfunctioned and closed, leaving him stranded with no communication whatsoever. The situation seems grim and his forlorn attempts to fire up the wormhole again fail terribly. Left with no option, he wanders around to have a look at the planet that might be the last he ever set foot on. Born a survivor, he's able to hunt for food, and build basic tools to keep himself alive. Soon after he starts exploring, the player finds structures that clearly represent signs of existence of intelligent life forms. He becomes careful. Fearing his own death by the hands of the natives, he builds a few tools to defend himself. Underneath one of the structures, he discovers a secret passage. Gathering courage he goes through it. He finds a puzzle that needs to be solved to reach a treasure which seems to be concealed from the unworthy. He finds a book in the treasure chests which reveals a few secrets but creates even more mysteries..
".. before the machines tear us apart, it's crucial to save the technology we've created for the survivors to grow and fight back, to take back what's theirs. Most of our defences have been destroyed, our houses burned and whatever we've created is lost, but knowledge is something that doesn't die easily. If you've survived and found this book, what follows are the blueprints of the revolutionary technologies that we’ve created. To build some of these, you might require some artifacts scattered around the entire world..."
Soon he solves a few more and realises that he can actually find a way back home by using the early civilization's technology to create what is known as a catapult portal that throws you across in space time. He sets on a journey to find and solve all puzzles to find the necessary artifacts and manuscripts to build the portal so that he can travel back home.
You can find the full Lore document here. The document also contains the whole list of riddles that need to be solved to access locked areas in game. Needless to say, SPOILER ALERT.
Making items and blocks
With all the lore ready in a Google Doc, it was time to bring everything in-game.
Making the Books-
Most of the game revolves around the usage of books and the journal to convey and progress the story. There are a total of 6 books that were made. Three of these books can be found in treasure chests serving as instructions on usage of specific ingredients (kept alongside in the treasure chest) to make the catapult portal. The most crucial book is the book that carries all the secrets, mainly directions to puzzles and treasures. There is one book inside the hut that hints the player to look in the well for the Book of Secrets. There is another book that lies in a chest located inside the crash site where the player spawns. This book simply has stories on space exploration, serves as light reading. The list of books is as follows-
- Space Exploration Stories (Editable)
- The Hut Book (Read-Only)
- Book of Secrets (Read-Only)
- Treasure Chest 1- Shattered Plasma Book (Read-Only)
- Treasure Chest 2- Arkenstone and obsidian Torch Book (Read-Only)
- Treasure Chest 3- Facade of Truth Book (Read-Only)
Antrum Sabre-
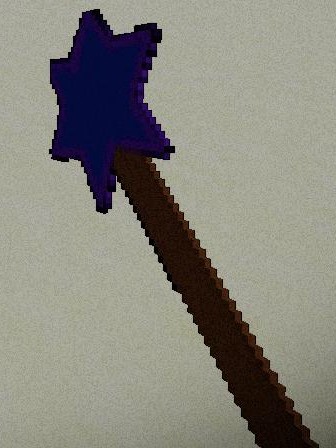
The word “antrum” is latin for cave or hole. The antrum sabre is an item that the player uses to make a wormhole (a connection in space-time), to travel huge distances in a few seconds. This tool however becomes dysfunctional when the player arrives at the new planet.
Arkenstone-
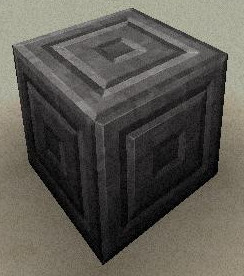
The arkenstone is the central part of the catapult portal. Preserved since the dawn of the ancient ages, this stone serves as the key to the Portal. The kestone must be activated by tapping on it with the obsidian torch to fire up and ignite the portal.
Obsidian Torch-
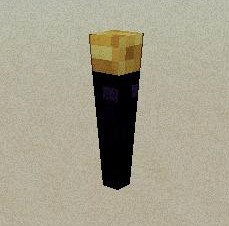
The obsidian torch discovered by the natives in the West, was a remnant found inside the largest volcano. With an ever-glowing flame, it also has other mystical usages. Knocking on the arkenstone with the obsidian torch would light up the portal and activate it.
Shattered Plasma-
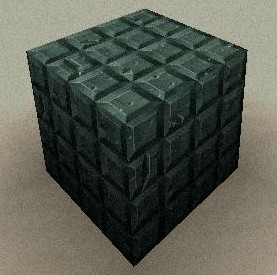
The shattered plasma is a green looking block made up from forging together sand, glass and grass of Spero in the Kiln of Tudal. This forms the base or the foundation for the catapult portal.
Facade of Truth-
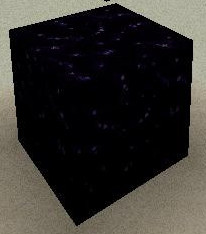
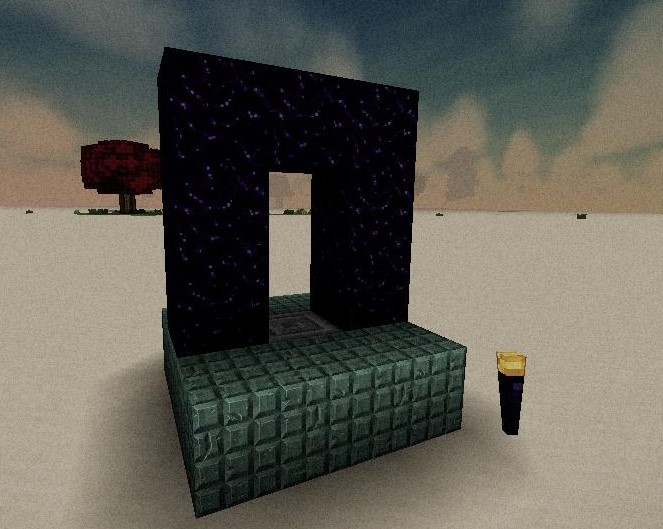
The Facade of Truth is made up of blocks of a special type of Basalt. These blocks need to be piled up to create a 3x3 frame with a 1x2 hole for the tunnel in between. With the Shattered Plasma foundation laid, the Facade of Truth built on top, the arkenstone needs to be placed at the front of the foundation and tapped with the Obsidian Torch to activate and light up the portal.
The Final Portal
The final catapult portal when put together from all the above blocks, looks like this-
Making Structures
The puzzle rooms were already made, complete with deadly and lethal traps. It was time to wrap these rooms around with some special structures to hide them from plain sight. There were three puzzle rooms that I hade made. To wrap around and hide these puzzle rooms, I made three additional structures- the pyramid, the stonehenge and an underground temple. In addition to these, there were two more structures that I made, the hut and the well, that exist near the spawn location which serve as a starting point for the player.
Making the Pyramid-
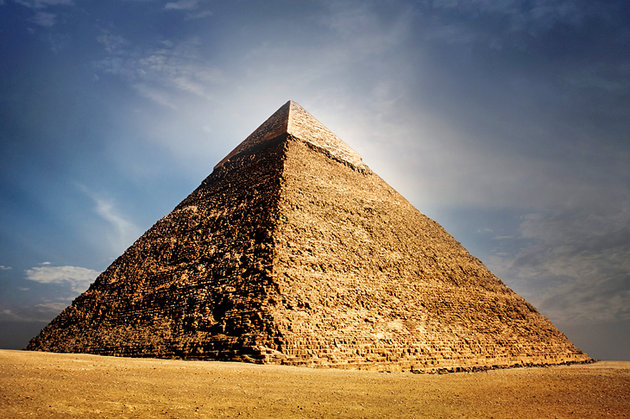
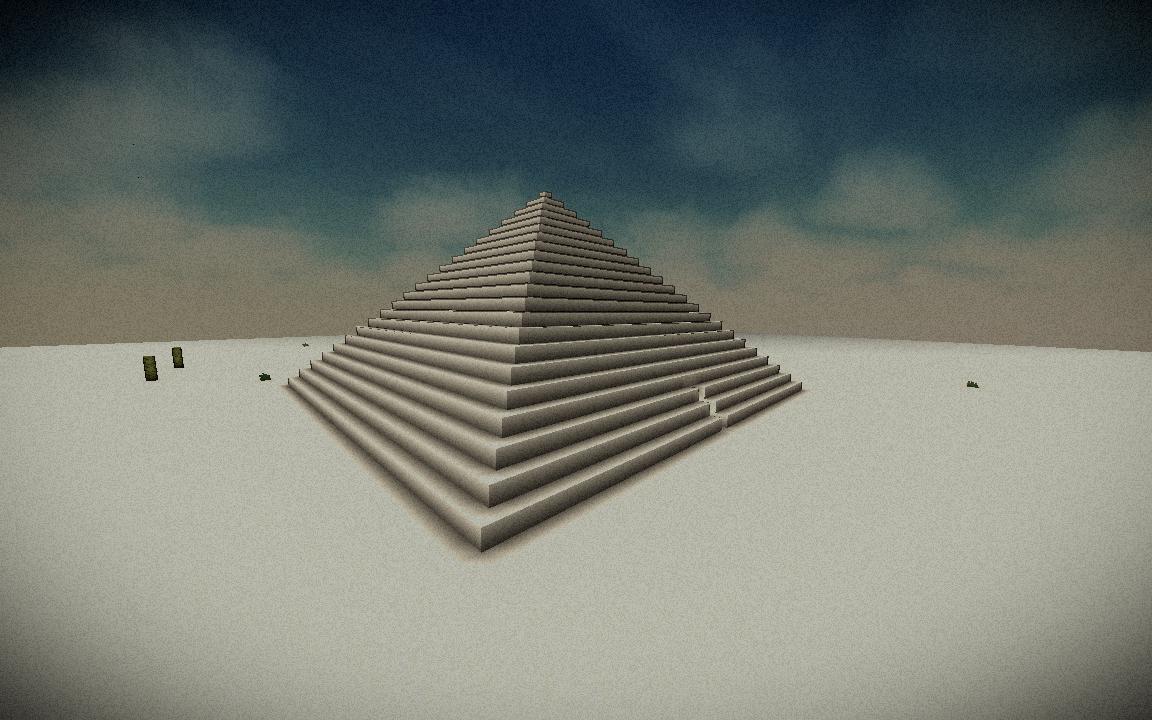
A good looking square pyramid made from blocks must have square layers stacked one on top of the other. For a neat looking pyramid that has a pointed top (of one block size), it is required to have each square layer have an odd length, i.e. the top layer would be 1x1, followed by layers having dimensions 3x3, 5x5, 7x7 and so on. For a pyramid having a length l, the bottom-most layer has dimensions- (2l - 1)x(2l - 1).
I decided to start by making a structural template for the pyramid, the pyramid would then have the puzzle room inside, at its heart, just like the tomb inside the Egyptian pyramids. To do this I required a very large pyramid which would have been extremely tedious to build manually. So, I went ahead and made a small pyramid with a height of 3 and studied the generated structure template. The structure template for a pyramid of height 3 and base of 5x5 looks like this:
{ "blockType": "core:Sand", "region": { "min": [-2 ,1, 1], "size": [5 , 1, 5]}},
{ "blockType": "core:Sand", "region": { "min": [-1 ,2, 2], "size": [3 , 1, 3]}},
{ "blockType": "core:Sand", "region": { "min": [0 ,3, 3], "size": [1 , 1, 1]}},

... air blocks ...
Apart from the air blocks, the sand block followed a nice pattern. So, I went ahead and made a python script to make the generation of square pyramids easy. Here’s the script I wrote-
l = int(raw_input("Enter length of base of square pyramid (odd number)"))
a = -1*(l-1)/2
b = 1
s = ""
for i in range (a,1):
    s += '{ "blockType": "core:Sand", "region": { "min": [' + str(i) + ' ,' + str(b) + ', ' + str(b) + '], "size": ['+ str(l) +' , 1, ' + str(l) + ']}},\n'
    l = l-2
    b = b+1
print s
Note that the generated output would not account for the surrounding air blocks. It is advisable to place the structure (generated from the script) in the world using a spawner and then create another structure template by making a box size region that encompasses the whole pyramid. This ensures that no other block (like parts of a nearby tree) remains floating above the pyramid.
Making the Stonehenge-
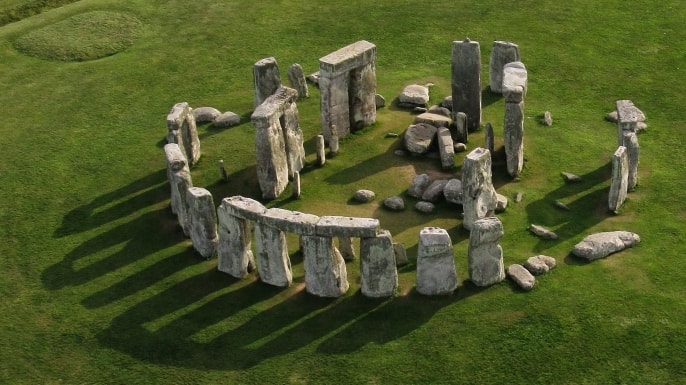
Another one such structure to conceal the puzzle room is the stone henge. The stone henge much like the real world stone henge comprises of gaping tall pillars.
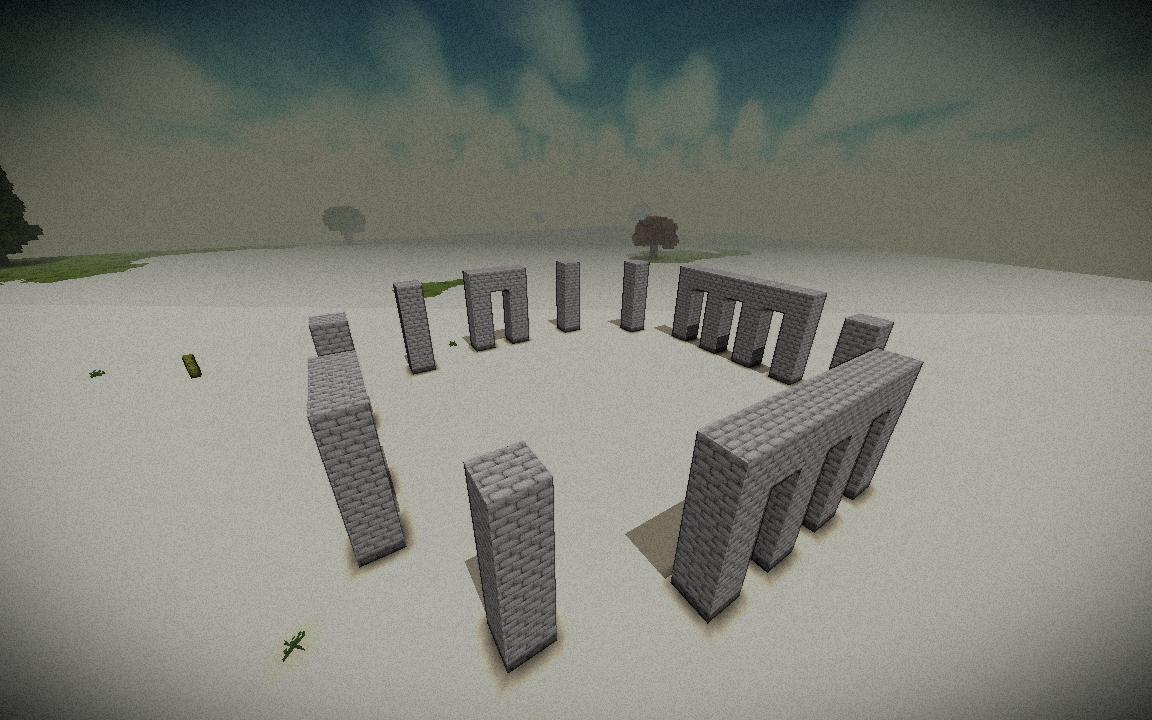
Creating the stonehenge was relatively easy. I made long pillars of cobblestone by entering the ghost mode. Some pillars were broader than the others and some were connected to a neighboring pillar at the top.
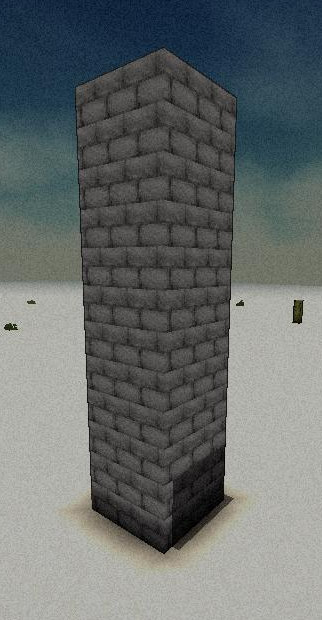
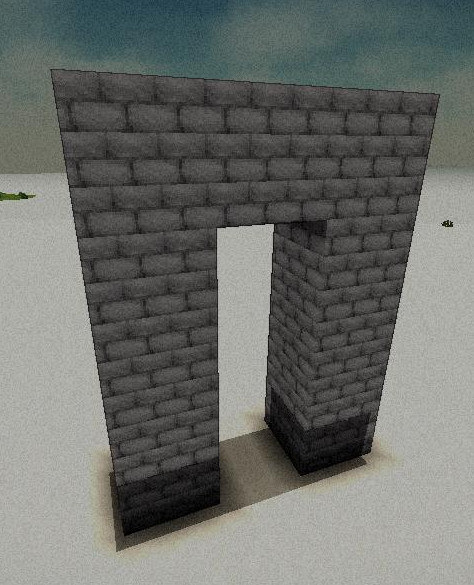
The pillars together were arranged in a circular fashion. Inside the circle lay the puzzle room.
Making the Temple-
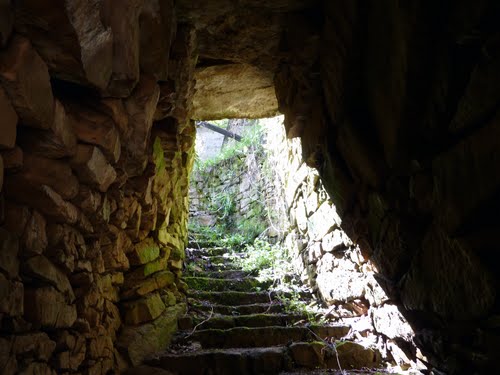
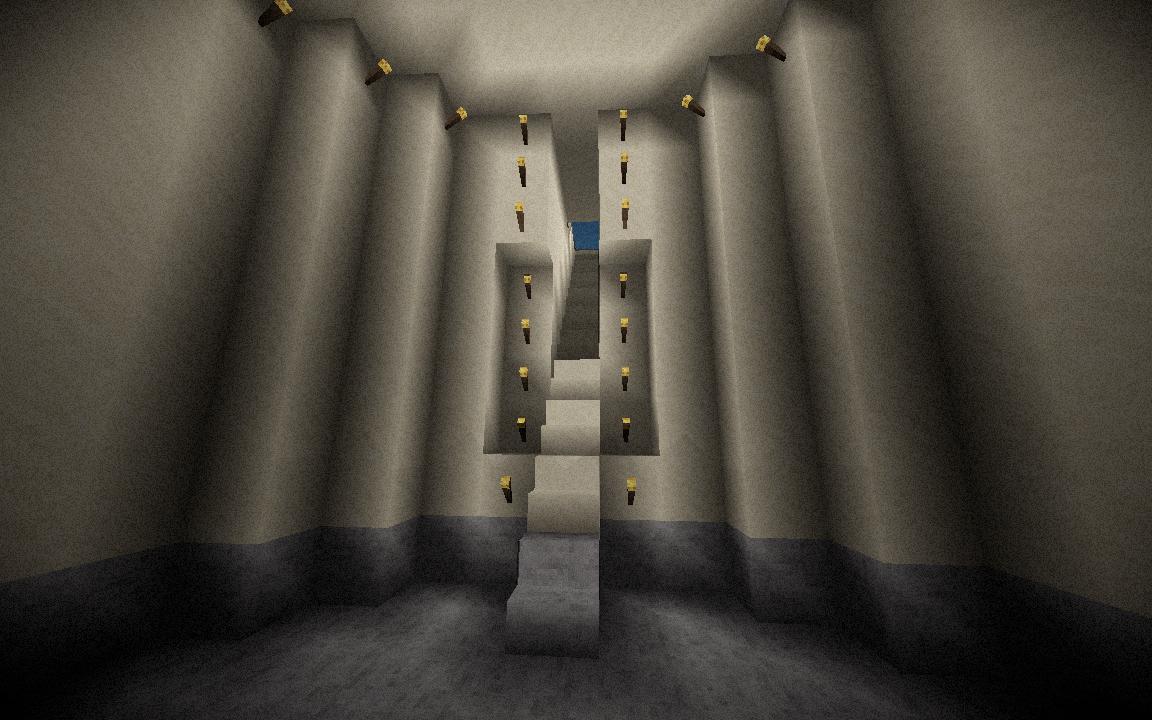
The third and last structure is an underground temple. The puzzle room is hidden underground in a cave like hollow. The entrance to the cave is marked as a large “T” on the ground made by dirt blocks. Breaking the dirt blocks brings out the hidden staircase that leads to the underground cave. The cave is lit up with torches and directly makes way for the puzzle room.
Making the Hut and the Well-
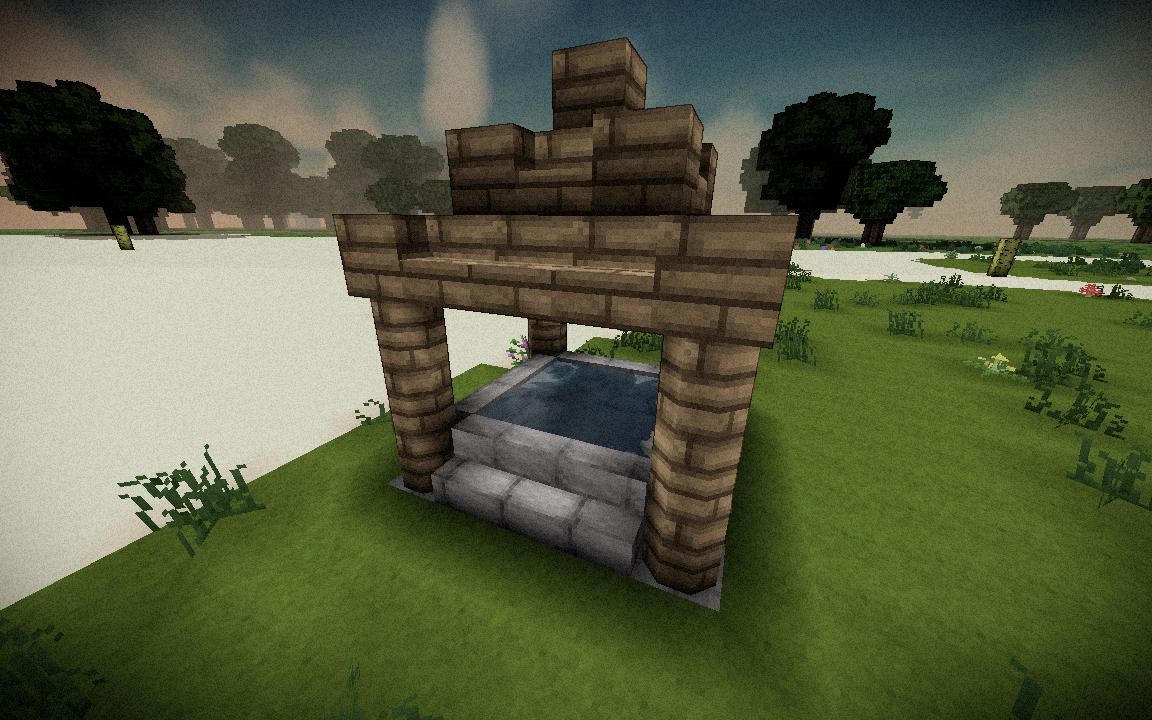
The hut and the well are the nearest structures to the spawn location. They are pivotal to the plot. The well has a hidden treasure chest underground that contains the Book of Secrets. The Book of Secrets hides inside it the directions for the three structures that conceal the different pieces of the catapult portal.
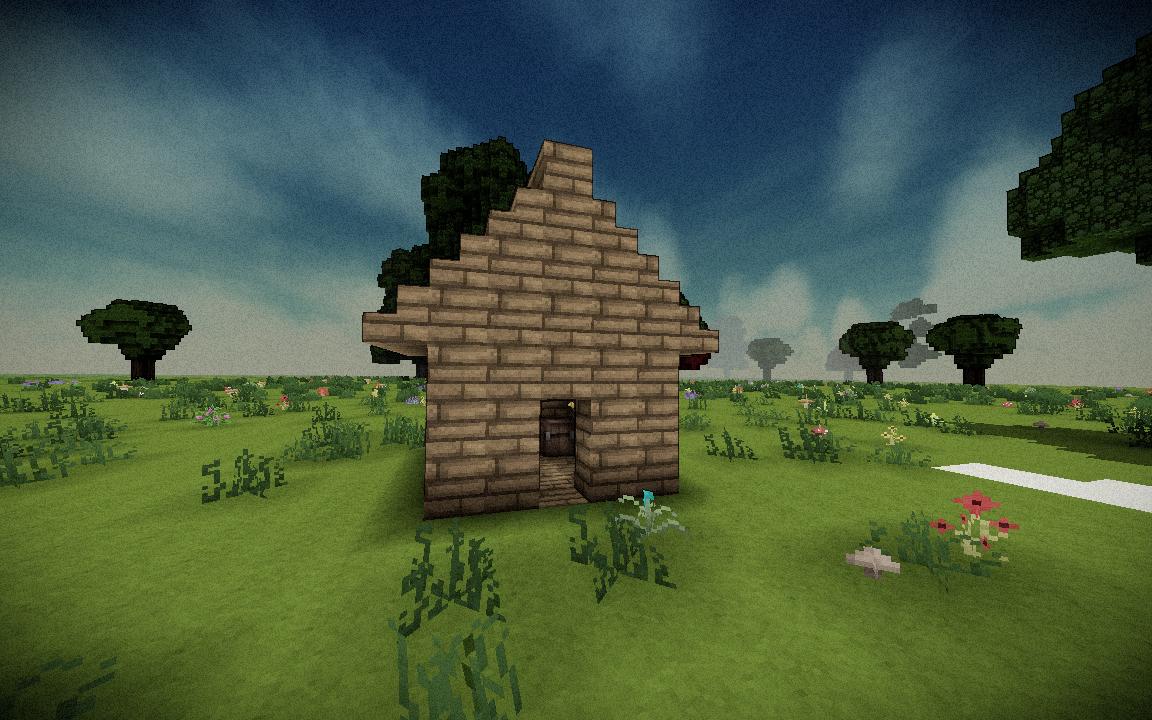
The hut also has a treasure chest consisting of a Pickaxe and some other blocks. It also contains that book which points towards the well.
Protecting Regions
Most of the traps had a settings screen that was produced upon interaction. This behavior was to be prevented for the traps inside the puzzle rooms atleast. In addition the password doors could be broken down easily by attacking. These needed to be protected too.
To protect the regions, I decided to take help of the Scenarios module (being developed in another GSoC project). I’ve added features like Region Resizing and marking regions Protected in the Regions section of Scenarios. Regions can be created, and their properties altered using the Scenario:HubTool.
A protected region now has the following functionalities-
- No block addition
- No block attack/removal/mining
- No interaction with entities having the
NoInteractionWhenProtectedcomponent
Journal Integration
Finally, the Journal that’s been out there dust-laden has finally been put to some good use. Lost makes immense use of the Journal. In addition to adding Journal posts related to WoodAndStoneCrafting (see WoodAndStoneCraftingJournal), Lost adds its own section in the journal. There are multiple Journal articles that get added upon events like- killing a deer, finding a new treasure chest, finding the book of secrets etc.
The Angel of Resurrection
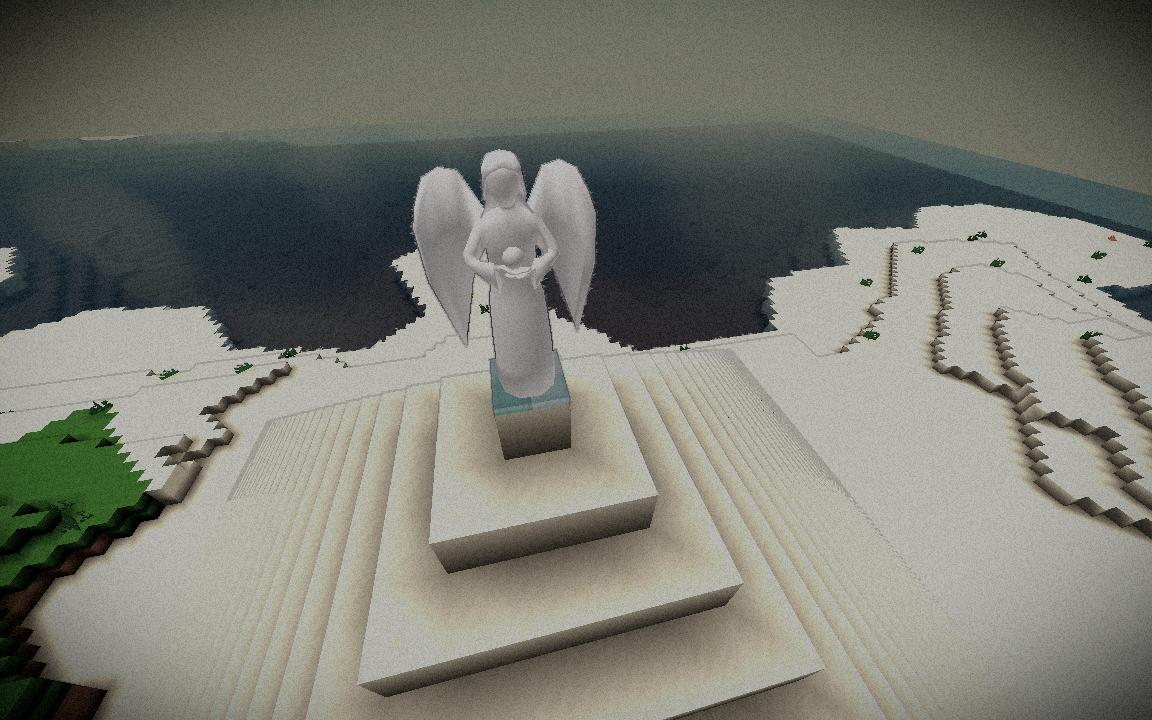
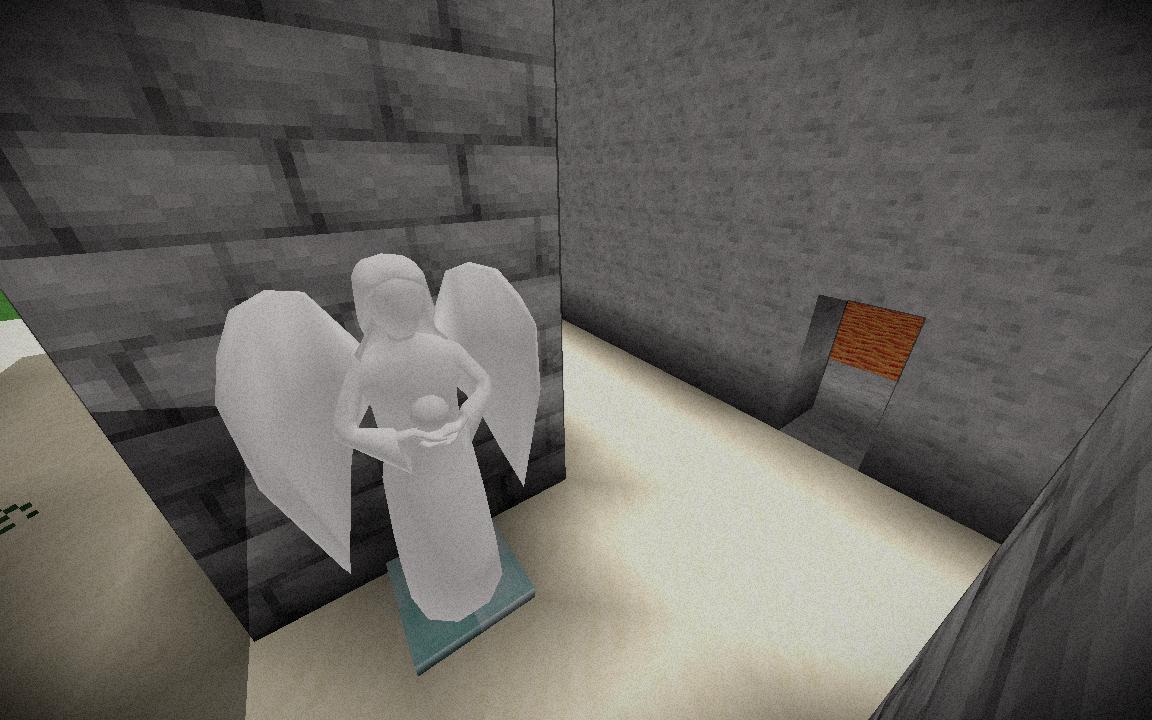
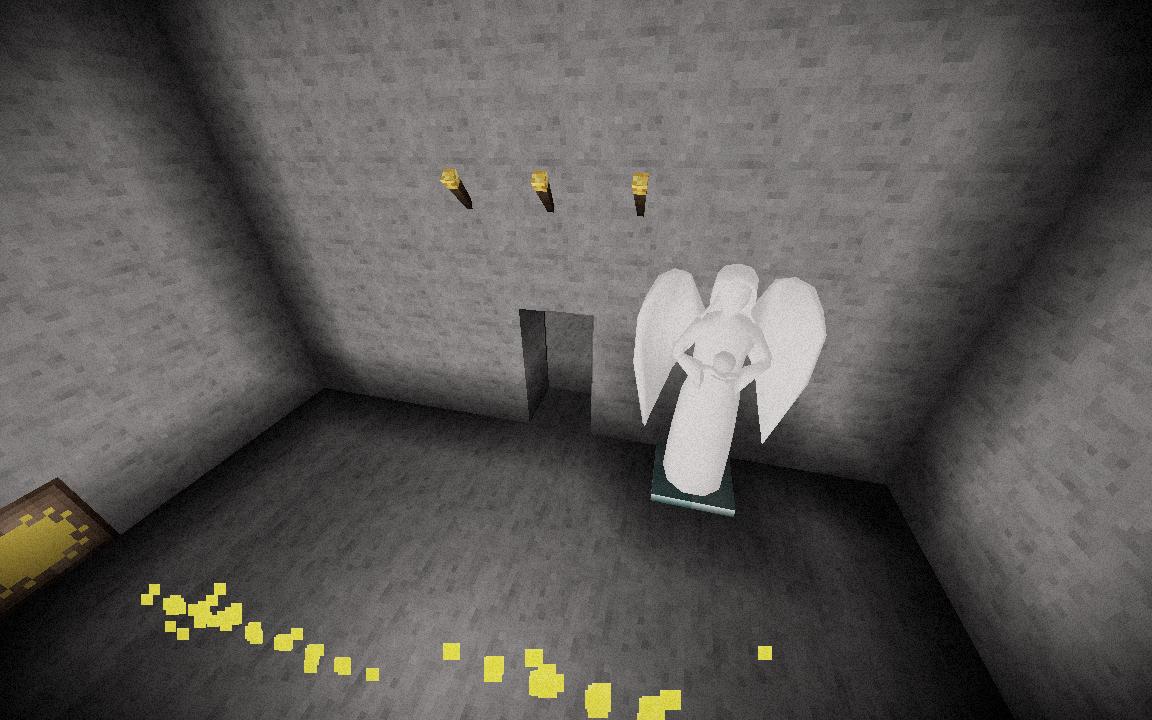
Near every trap or puzzle room, in close proximity an Angel of Resurrection is placed that could be activated to enable respawning near it, essentially acting as a checkpoint. The checkpoint is vital since death caused by the lethal traps would send the player to respawn back at the original spawn point (0, 0, 0). This causes the player to travel a huge distance to get back to the puzzle room. This has some serious chunk loading issues as well.
MCQ Button Door
The Password door allows the player to unlock the door only if the player enters the exact passphrase. The MCQ Button door is less cruel, it provides a set of options to choose from. However, it is dangerous and it kills the player instantly if they press the wrong button.
Set Custom Spawn Location
The world generator is used to set the spawn position at every RespawnRequest. For world generators like PolyWorld this can be troublesome, since there is no static spawn location and the generator finds a suitable spot in an area covered by a specified search radius.
To allow more control over spawning, I added a new command- setSpawnLocation that sets the spawn location to the character’s current location.
Putting it all together
The individual components were all ready as structures and items. What was left was placing everything together in a world to create the base save file. Piece by piece, I placed everything together. I had to take care of a few things like the directions for the structures as indicated in the Book of Secrets and subtleties like the fact that a mammoth sized pyramid of sand cannot lie on top of grassy meadows.
The whole world is packed in the Island World generator from PolyWorld that has nice little islands to help contain all the features and prevent the player from wandering too far.
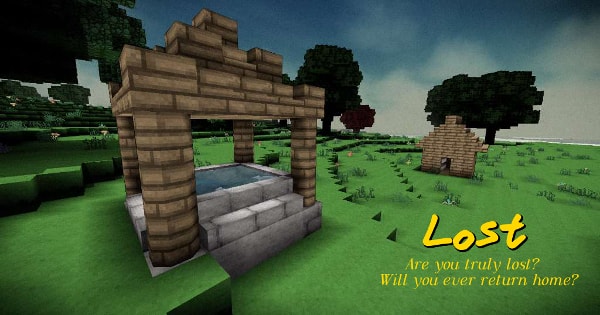
Here is the background image for the Lost module-
I’ll be making a wrap up post soon to cover all my contributions over the summer with a few stats. Plus, I might make a teaser video for the Lost module.